Rhea Banthia
INTRODUCTION TO ELECTRONICS
Arduino
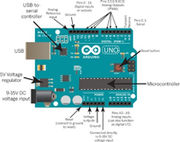
Arduino is an open-source electronics platform based on easy-to-use hardware and software. Arduino boards are able to read inputs - light on a sensor, a finger on a button, or a Twitter message - and turn it into an output - activating a motor, turning on an LED, publishing something online. An Arduino can be powered directly off of a USB port without any external power. It can also be connected to an external power source of up to 12v and it will regulate it to both 5v and 3.3v. Arduino has 32 KB of flash memory for storing a code. It has 13 digital pins and 6 analog pins. These pins allows connection of external hardware to the Arduino. And it has a button to reset the program on the chip.
Arduino IDE (integrated development environment) needs to be downloaded and installed before doing anything with the arduino. The Arduino Programmer is based on the Processing IDE and uses a variation of the C and C++ programming languages.
Sensors
Light Dependent Resistor (LDR)
Potentiometer
Piezo buzzer
Circuit
Voltage
Current
Resistance
Series resistance
Parallel resistance
Ohm's law
CIRCUITS AND CODING
How to make an LED blink?
Basic circuit
Using a potentiometer
Using a buzzer
How to use an IR sensor?
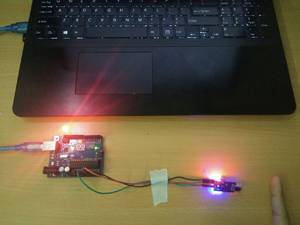
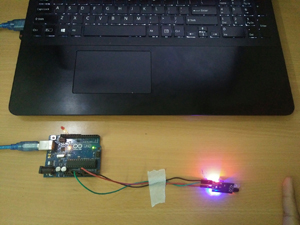
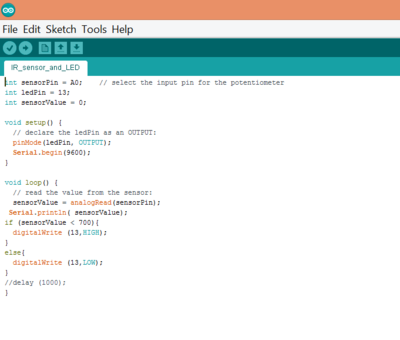
An IR proximity sensor works by applying a voltage to a pair of IR light emitting diodes (LED’s) which in turn, emit infrared light. This light propagates through the air and once it hits an object it is reflected back towards the sensor. If the object is close, the reflected light will be stronger than if the object is further away. The sensing unit detects the reflected infrared light, and if its intensity is strong enough, the circuit becomes active. When the sensing unit becomes active, it sends a corresponding signal to the output terminal which makes the LED glow.
Reflection
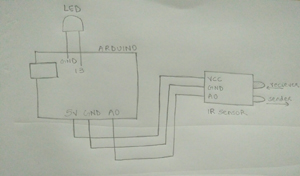
After understanding what an IR sensor means and what it actually does, I started looking for it’s connections with the Arduino and code online. Not having much knowledge about the same, I followed what a youtube video asked me to do. After making all connections and uploading the code, the sensor didn’t work. I re-did the connection and code taking help from someone. I understood that in an IR sensor, VCC is connected to power i.e. 5V, GND is connected to GND on Arduino and the AO is connected to any Analog pin on Arduino from 0 to 5. The same input is defined in the code. On the digital side, the smaller (negative) leg of the LED is inserted in GND and the longer(positive) leg is inserted in any digital pin from 0 to 13. The same output is defined in the code. Also, the range till where the IR sensor should detect an obstacle needs to be defined.
