Vikrant Mishra
Contents
Introduction
Hey! I’m Vikrant. I’m an Industrial arts and design practitioner at Srishti Institute of Art, Design and Technology. I find passion in working with different sorts of materials and creating things. I believe that every good design can be a piece of art. Design technologies, art and illustrations are some of my passions and I'd love mastering all of these someday. Through last three years I've tried mastering materials like wood, metal and sun-board. The products and designs that I've worked on, majorly revolve around human lifestyle and daily engagement. Apart from designing I also cook, paint and do poetry.
Introduction to the Basics
Arduino and other components
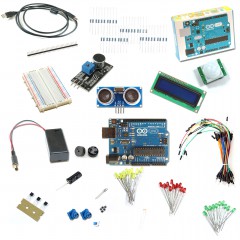
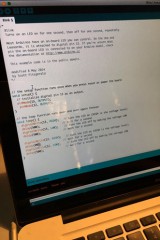
The first day mostly involved figuring out the things we were not familiar with. This involved figuring out how commands work on Arduino and how the setup works. We started with learning all the functions and properties of different electrical components. Later we moved on to Arduino Uno and learned how to connect components to it. After we got done figuring out the basics, we learned how to program stuff. We started with the most basic one, which was to make a LED light blink. We entered the numerical components required for command to function and it worked. We later experimented with other components like piezo alarm, IR sensor etc. We learned how bread-board is used and how it’s an easy way to experiment things rather than soldering the whole circuit to a certain PCB board.
Class Activities// Tasked Performed
Making and LED light blink
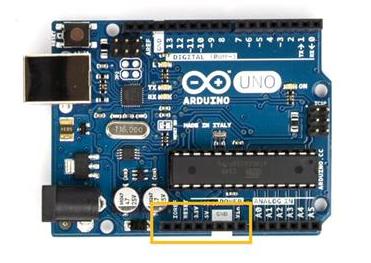
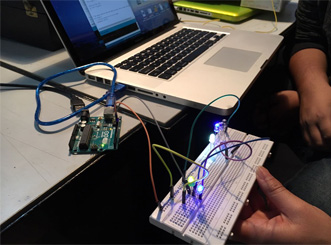
Firstly you will need to plug one end of a wire into the '5v' Power output on the arduino, and the other end into the positive section of the breadboard. Then you need to plug one end of a wire into the ground ('GND') Power output, and the other end into the Negative section of the Breadboard. Finally, you need to plug one end of the resistor from the Negative section of the Breadboard, to any horizontal line on the main section. Later we connected LEDs on the bread-board. We wanted to connect multiple LEDs and so we connected more in the series. Attach a wire from digital port '0' on your Arduino to the hole directly above the resistor and run the program.


