Aayush
Contents
Micro robot
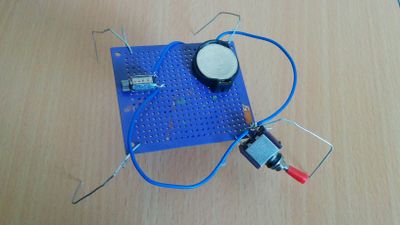
The first task at our hand was to make a simple micro robot,with components such as a vibrating motor, a 3V battery and a switch. I also learnt how to solder with a soldering iron, this task given to us was very different and made us scratch our brains, which were idle for a long time. Overall this first exercise was astonishing for me.
Trip to SP road
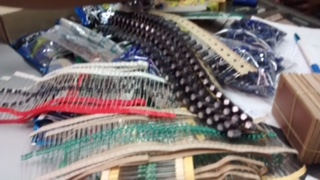
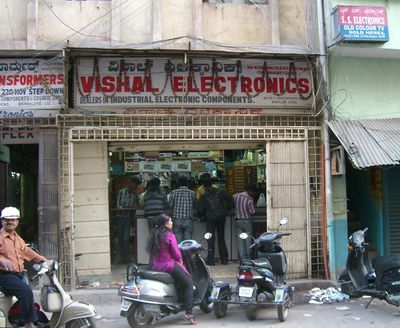
My Trip to SP road was an exploratory trip for me, SP road is a techie's dream come true it is the hub of electronic components in Bengaluru. The street had all the required electrical components through which one can make his own computer. I was fascinated by all sorts motors, heavy machinery, heavy tools and also the types of different electrical components which exists.I got a chance of finding out different types of sensors available in the market like the ultrasonic sensor, motion sensor, etc.
Introduction to Components
Battery
Making your Own battery
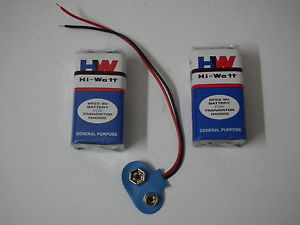
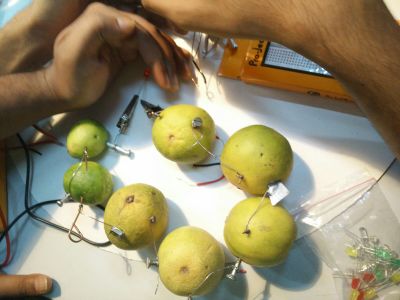
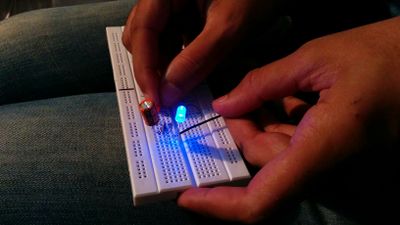
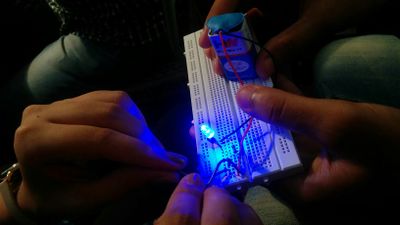
This particular task involved us to make our own switch. We used our bodies as a conducting medium, We used a series of 9v batteries to pass current through our bodies and make the LED glow. We also used lemon batteries, a common household item-lemon, that is capable of conducting electricity through it.
Resistors
Fixed Resistors
This was our Introduction to the breadboard, and the much notorious series and parallel connections. The most important thing was to get the rough idea of the internal connections.
Variable Resistors
potentiometer
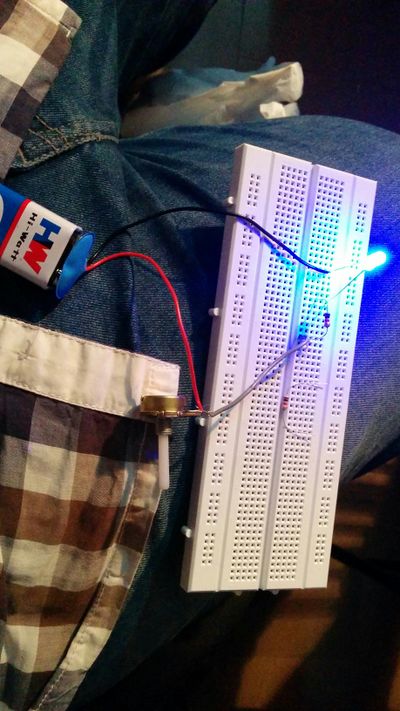
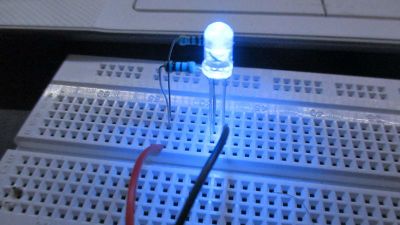
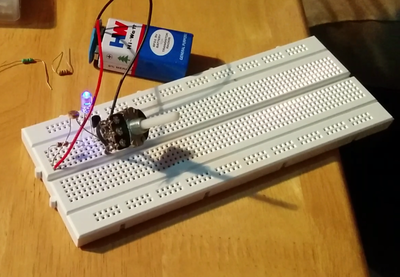
In this exercise we experimented with a potentiometer , which controls the amount of voltage being passed which in turn affects the brightness of the LED. The Materials required were a 10KB potentiometer, an LED and a Bread Board.This task was exciting and more than that it was a very good learning experience.
Thermistor,LDR
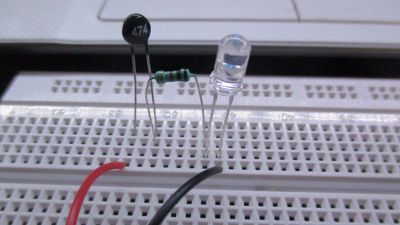
A thermistor is a type of resistor whose resistance is dependent on temperature, more so than in standard resistors. The word is a combination of thermal and resistor. This worked on a principle; When a match stick is brought close to it, the temperature change causes it to glow the LED. click here for video
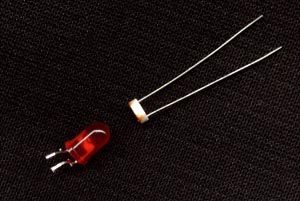
The Next thing worked on was the LDR, A photoresistor or light-dependent resistor (LDR) or photocell is a light-controlled variable resistor. The resistance of a photoresistor decreases with increasing incident light intensity; in other words, it exhibits photo-conductivity.
Capacitors, Diodes and Transistors
A capacitoror a condenser is a passive two-terminal electrical component used to store electrical energy temporarily in an electric field. Our task was to play with it and the get the idea of it's usage. click here for video
A transistor is a semiconductor device used to amplify and switch electronic signals and electrical power. It is composed of semiconductor material with at least three terminals for connection to an external circuit.We did the same exercise as mentioned above but with the addition of a transistor.
555 Oscillator
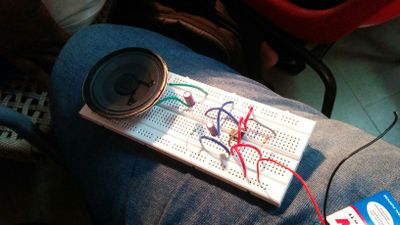
Here we made a speaker which could produce sound when connected through a battery, this was an intriguing task as the circuits were very very minute and needed to be precise, it was a little hard but fun after all the hard work.click here
The Toy
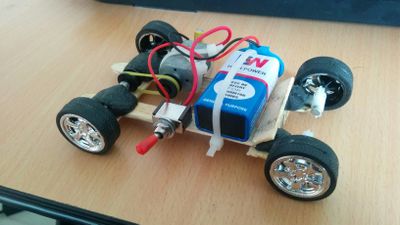
We were asked to make a toy, we could use whatever components we desired at but end of the day we had to complete a workable toy. I chose to make a simple car, which consisted of a switch, a 9v battery, a DC motor and some ice-cream sticks.I used a combination of m-seal and fevi-quick to make the structure durable as well as a little lighter so that the Dc motor could pull the wheels with the help of a pulley and a rubber band.Overall it was a difficult task but none the less achievable.
Amplifier
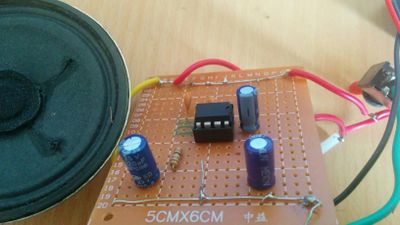
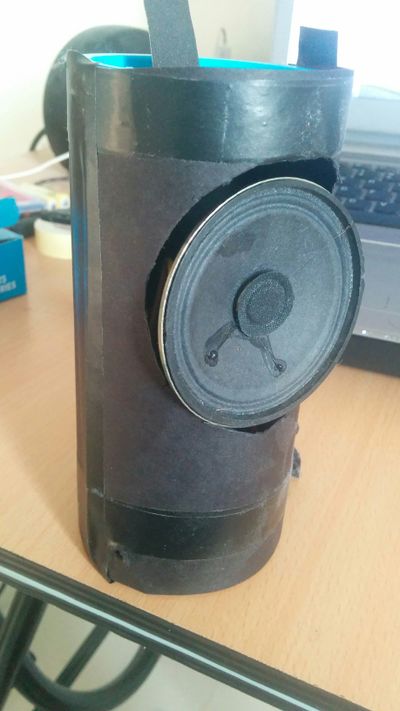
This was a daunting task,but at end of the day we were successful enough to make an amplifier.This was the first time that I soldered so many minute components at once, yes it was a little frustrating but that's where the fun lies. Thee burns from the Solder iron have made us masters in soldering and with the speaker working fine when plugged through an 3.5 mm jack to mobile makes it even more delightful.The Ic that I used was the lm386.
Arduino
Basics
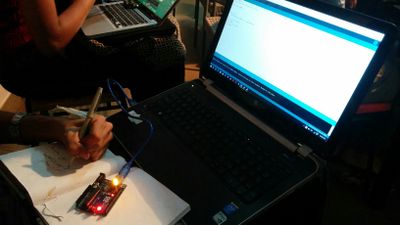
We were taught the basics of Arduino uno, I particularly was not at all interested at first but as time went by my interest in this area grew, we were asked to perform basic tasks like blinking an LED, Knight Rider LED and the usage of a servo motor.
