Difference between revisions of "Shivon"
| Line 2: | Line 2: | ||
== '''MicroRobots''' == | == '''MicroRobots''' == | ||
| − | '''Day 1''' | + | '''Day 1:''' |
| + | '''Introductory Class''' | ||
| Line 12: | Line 13: | ||
[[File:IMG_0336.jpg|center|200px]] | [[File:IMG_0336.jpg|center|200px]] | ||
| − | + | ||
| + | |||
| + | |||
| + | |||
| + | == '''TRIP TO SP ROAD''' == | ||
Revision as of 19:45, 9 October 2015
MicroRobots
Day 1: Introductory Class
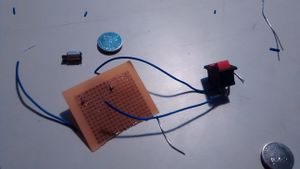
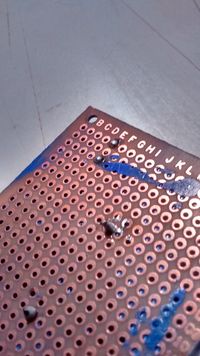
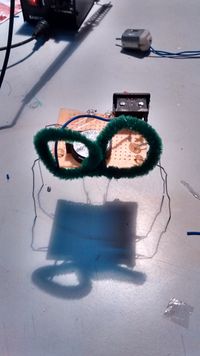
To start with, I took this course because I didn’t have any knowledge about electronics at all. And sensors are something that could be inculcated in a lot of products and would also help me further in designing products. So on the first day we built a tiny robot of our own with a motor, battery and battery holder, switch and wires to complete the circuit. This was the first time I actually made a circuit on the PCB board and soldered it. First when I tried to solder, I found it a bit easy but later I realized that it has a particular technique. The soldering iron should be placed on the board first at a certain angle then the soldering wire should be held while it melts on the required place. I had a difficulty while soldering the motor because one of the legs broke when I switched on the motor. So the solution was to neatly solder the leg back but I couldn’t do so since I didn’t know where exactly I had to place the leg. So I took Shreyasi’s help for it and learnt how to solder it back. After all the connections were made, the robot worked perfectly fine. To make it move, we used U-pins as legs and balanced the robot. I was very fascinated by the way it moved. Also, everyone’s robot moved differently depending on the way they fixed the legs.


