Difference between revisions of "Rhea Banthia"
Rhea banthia (Talk | contribs) (→Using a potentiometer) |
Rhea banthia (Talk | contribs) (→How to make an LED blink?) |
||
| Line 69: | Line 69: | ||
[[File:Led blink.jpg]] [[File:Led blink 2.jpg]] | [[File:Led blink.jpg]] [[File:Led blink 2.jpg]] | ||
| + | |||
| + | |||
=== Using a potentiometer === | === Using a potentiometer === | ||
| Line 80: | Line 82: | ||
=== Using a buzzer === | === Using a buzzer === | ||
| − | |||
== How to use an IR sensor? == | == How to use an IR sensor? == | ||
Revision as of 23:40, 13 March 2017
INTRODUCTION TO ELECTRONICS
Arduino
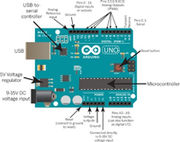
Arduino is an open-source electronics platform based on easy-to-use hardware and software. Arduino boards are able to read inputs - light on a sensor, a finger on a button, or a Twitter message - and turn it into an output - activating a motor, turning on an LED, publishing something online. An Arduino can be powered directly off of a USB port without any external power. It can also be connected to an external power source of up to 12v and it will regulate it to both 5v and 3.3v. Arduino has 32 KB of flash memory for storing a code. It has 13 digital pins and 6 analog pins. These pins allows connection of external hardware to the Arduino. And it has a button to reset the program on the chip.
Arduino IDE (integrated development environment) needs to be downloaded and installed before doing anything with the arduino. The Arduino Programmer is based on the Processing IDE and uses a variation of the C and C++ programming languages.
Sensors
A sensor is a device that detects and responds to some type of input from the physical environment. The specific input could be light, heat, motion, moisture, pressure etc. For example, In a mercury-based glass thermometer, the input is temperature. The liquid contained expands and contracts in response, causing the level to be higher or lower on the marked gauge, which is human-readable. Sensors are found in everyday objects such as touch sensitive phones, automatic doors, home security lights etc.
Light Dependent Resistor (LDR)
Potentiometer
Piezo buzzer
Circuit
Voltage
Current
Resistance
Series resistance
In a series circuit, the resistors are placed in a chain hence the current has only one path to take. The current is same through each resistor whereas the volatage across each resistance changes. If for example, in a circuit with three resistors of 8 ohm, 8 ohm and 4 ohm, voltage of 10 V, total resistance would be 20 ohm ( sum of all resistors). Then using ohm’s law ( V=IR), current (I) would be 0.5 A.
Parallel resistance
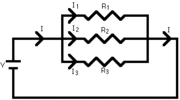
In parallel circuit, the resistors are placed parallel to each other hence the current breaks up and re-combines. The voltage is same across each resistor whereas the current splits. . If for example, in a circuit with three resistors of 8 ohm, 8 ohm and 4 ohm, voltage of 10 V, total resistance would be 2 ohm (sum of reciprocal of individual resistors). Then using ohm’s law, total current would be 5 A. The individual resistors would be 1.25 A, 1.25 A and 2.5 A.
As seen in the example above, the total resistance in series is more as compared to total resistance in parallel which is why the current flowing through series is lesser that the current flowing through parallel. Therefore, a series resistance is created to increase resistance in a circuit and parallel to decrease resistance.
Ohm's law
CIRCUITS AND CODING
How to make an LED blink?
Basic circuit
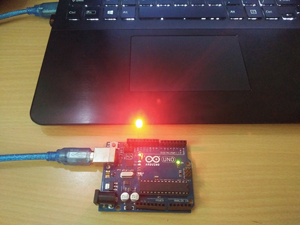
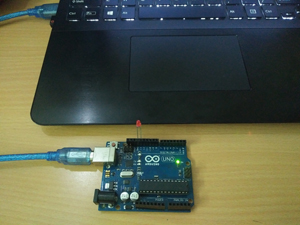
Making an LED blink was the most basic circuit we started with. For this, an LED was inserted in the Arduino, shorter leg going in GND and the longer one in digital pin 13 (output). We used the example blink code from the software to try it out. We also played around with the delay to have the LED blink at different paces.
Using a potentiometer
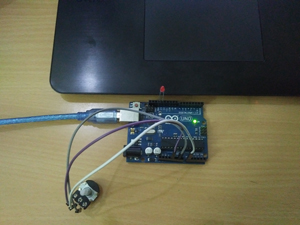
To make an LED blink with an analog input i.e. the potentiometer, we used the code for analog input. According to the code, the analog input would get signals from A0. In any analog 3 legged sensor, the middle leg goes to analog input and the other two go to GND and power (5V). The LED is directly inserted in Arduino in GND and digital 13. The pace at which LED blinked changed according to the reading from the potentiometer.
Using a buzzer
How to use an IR sensor?
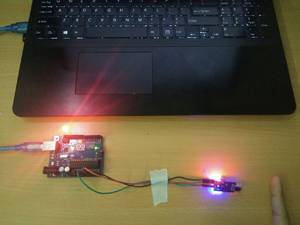
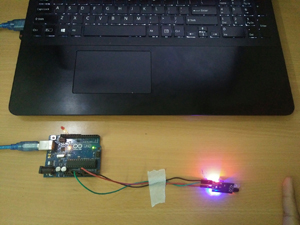
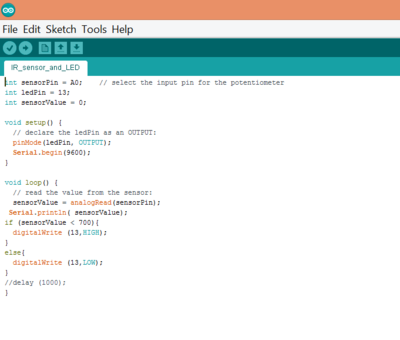
An IR proximity sensor works by applying a voltage to a pair of IR light emitting diodes (LED’s) which in turn, emit infrared light. This light propagates through the air and once it hits an object it is reflected back towards the sensor. If the object is close, the reflected light will be stronger than if the object is further away. The sensing unit detects the reflected infrared light, and if its intensity is strong enough, the circuit becomes active. When the sensing unit becomes active, it sends a corresponding signal to the output terminal which makes the LED glow.
Reflection
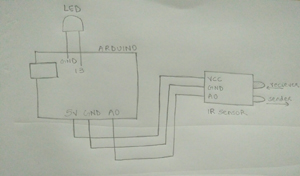
After understanding what an IR sensor means and what it actually does, I started looking for it’s connections with the Arduino and code online. Not having much knowledge about the same, I followed what a youtube video asked me to do. After making all connections and uploading the code, the sensor didn’t work. I re-did the connection and code taking help from someone. I understood that in an IR sensor, VCC is connected to power i.e. 5V, GND is connected to GND on Arduino and the AO is connected to any Analog pin on Arduino from 0 to 5. The same input is defined in the code. On the digital side, the smaller (negative) leg of the LED is inserted in GND and the longer(positive) leg is inserted in any digital pin from 0 to 13. The same output is defined in the code. Also, the range till where the IR sensor should detect an obstacle needs to be defined.
PROJECTS
Spinning cup
Field visit
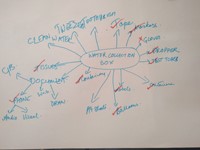
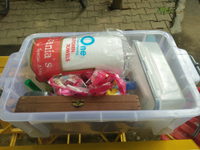
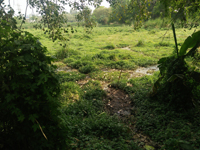
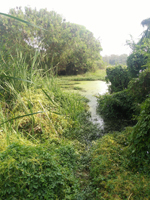
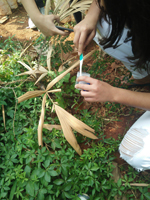
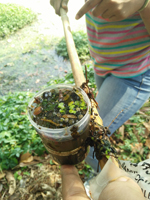
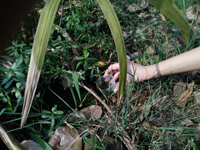
The purpose of our visit to the lake was to collect some water samples and look for diatoms in it. Before going, we made a list of things we would need there. This list included beakers, dropper, tissue, toothbrush, labels, pens etc. After making the list and preparing a kit, we headed to Puttanahalli lake. There we collected 6-7 samples of water from different sources. Here we realised that a laddle with a long handle would be very useful. We also made one there using stick, beaker and thread.
Preparing the kit.
Images of the surrounding at the lake.
Collecting water samples.
Turbidity meter
Extension to human body in future
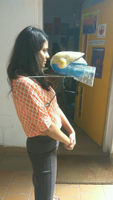
After sketching what the terms “cyborg” and “post human” mean to us, we went around in groups to look for scrap out of which we were supposed to build an extension to human body in 10 years. We made an extended mouth that would be connected to the brain and heart of the user and would do the talking when the user doesn’t want to or to save energy. This extended mouth also has a screen attached to it which would convert the words into text for deaf people to read.
