Difference between revisions of "Tanvi"
| (15 intermediate revisions by one user not shown) | |||
| Line 1: | Line 1: | ||
=MicroRobo= | =MicroRobo= | ||
| − | [[File:IMG 2930.JPG|thumb|400px|left]] | + | [[File:IMG 2930.JPG|thumb|400px|left]] |
| Line 65: | Line 65: | ||
| + | |||
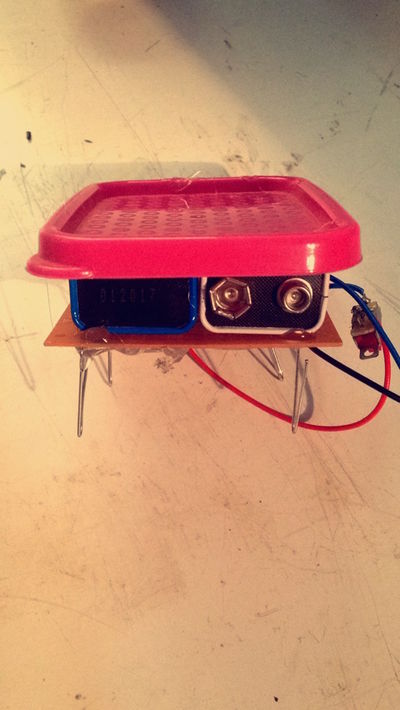
| + | Making the robot was quite an easy task. It was surprising for me as I never really got along with science back in school. My fear of science was one factor that kept me away from exploring the electronics, so I finally decided to overcome it by taking this course. This course did help me refreshing the basics and also understanding it this atleast time. | ||
=SP road visit= | =SP road visit= | ||
| − | [[File:Res cap.png]] | + | [[File:Res cap.png]] |
| − | + | [[File:100.png]] | |
[[File:Rescap.png]] | [[File:Rescap.png]] | ||
| − | |||
| + | |||
| + | |||
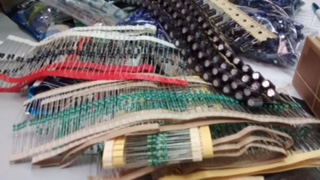
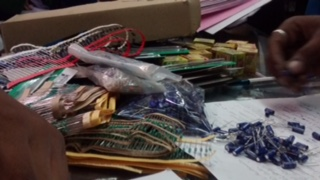
| + | This wasn't my first trip to SP road but since we had a long list, keeping up with it and understanding what each component is was a different experience. This trip helped us for future projects, as now we know the reliable place, general costing and where to get what from. | ||
| Line 85: | Line 89: | ||
==Battery== | ==Battery== | ||
===making your own battery=== | ===making your own battery=== | ||
| − | [[File:400px-90v.jpg|thumb|400px|left]] | + | [[File:400px-90v.jpg|thumb|400px|left]] |
[[File:400px-90v leaves 2.jpg|thumb|400px|left]] | [[File:400px-90v leaves 2.jpg|thumb|400px|left]] | ||
[[File:400px-90v leaves 3.jpg|thumb|400px|left]] | [[File:400px-90v leaves 3.jpg|thumb|400px|left]] | ||
| Line 91: | Line 95: | ||
[[File:400px-Thermister switch.jpg|thumb|400px|left]] | [[File:400px-Thermister switch.jpg|thumb|400px|left]] | ||
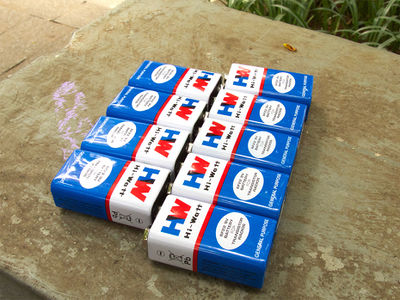
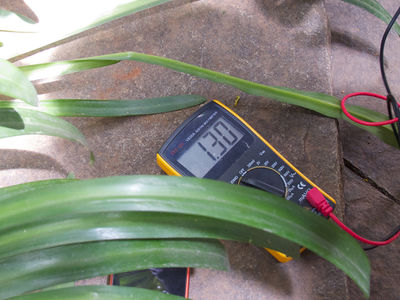
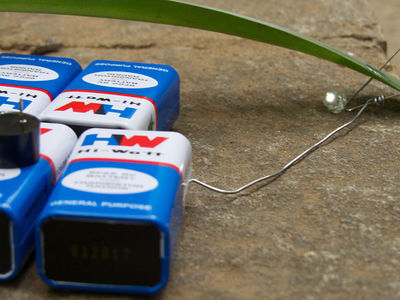
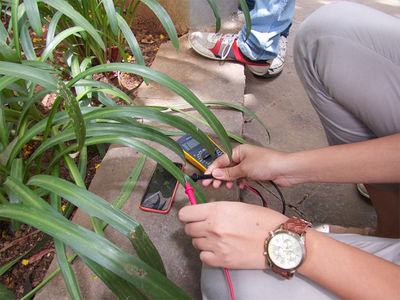
| + | Making our own switch was the best activity, we were running around with multimeter checking the resistance of nearly everything around us. We used the leaves, the bark, light, heat and even us as switches. we connected 9 9v batteries together to match up the resistance of our bodies. | ||
| Line 227: | Line 232: | ||
| + | ==Resistors== | ||
| + | ===Fixed resistors=== | ||
| + | [[File:FullSizeRender-1.jpg|thumb|400px|left]] | ||
| + | [[File:IMG 3078.JPG|thumb|400px|left]] | ||
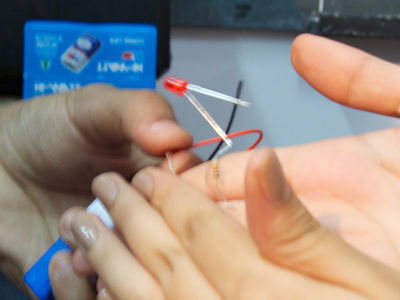
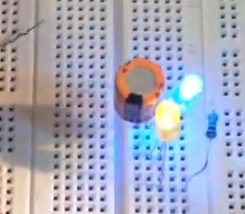
| + | In order to make the LED glow, I ended up wasting a lot of LEDs as little did i know about resistors. I had just seen resistors vaguely back in school diagrams, but never used it. | ||
| Line 235: | Line 245: | ||
| − | |||
| − | |||
| − | |||
| − | |||
| Line 252: | Line 258: | ||
| + | |||
| + | |||
| + | |||
| + | |||
| + | |||
| + | |||
| + | |||
| + | |||
| + | |||
| + | |||
| + | |||
| + | |||
| + | |||
| + | |||
| + | |||
| + | |||
| + | |||
| + | |||
| + | |||
| + | |||
| + | |||
| + | |||
| + | |||
| + | |||
| + | |||
| + | |||
| + | |||
| + | |||
| + | |||
| + | |||
| + | |||
| + | |||
| + | |||
| + | |||
| + | |||
| + | |||
| + | |||
| + | ===Variable resistors=== | ||
| + | ====Potential meter==== | ||
| + | [[File:IMG 3079.JPG|thumb|300px|left]] | ||
| + | [[File:Screen Shot 2015-10-16 at 10.24.03 pm.png|thumb|300p|left]] | ||
| + | [[File:Screen Shot 2015-10-16 at 10.23.42 pm.png|thumb|300px|left]] | ||
| Line 302: | Line 350: | ||
| − | |||
| − | |||
| − | |||
| Line 331: | Line 376: | ||
====LDR==== | ====LDR==== | ||
| + | [[File:IMG 3550.JPG|thumb|400px|left]] | ||
| + | [[File:IMG 3551.JPG|thumb|400px|left]] | ||
| + | |||
| + | |||
| + | |||
| + | |||
| + | |||
| + | |||
| + | |||
| + | |||
| + | |||
| + | |||
| + | |||
| + | |||
| + | |||
| + | |||
| + | |||
| + | |||
| + | |||
| + | |||
| + | |||
| + | |||
| + | |||
| + | |||
| + | |||
| + | |||
| + | |||
| + | |||
| + | |||
| + | |||
| + | |||
| + | |||
| + | |||
| + | |||
| + | |||
| + | |||
| + | |||
| + | |||
| + | |||
| + | |||
| + | |||
| + | |||
| + | |||
| + | |||
| + | |||
| + | |||
| + | |||
| + | |||
| + | |||
| + | |||
| + | |||
| + | |||
| + | |||
| + | |||
| + | |||
| + | |||
| + | |||
| + | |||
| + | |||
====Thermistor==== | ====Thermistor==== | ||
| + | [[File:IMG 3554.JPG|thumb|400px|left]] | ||
| + | [[File:IMG 3553.JPG|thumb|400px|left]] | ||
| + | |||
| + | |||
| + | |||
| + | |||
| + | |||
| + | |||
| + | |||
| + | |||
| + | |||
| + | |||
| + | |||
| + | |||
| + | |||
| + | |||
| + | |||
| + | |||
| + | |||
| + | |||
| + | |||
| + | |||
| + | |||
| + | |||
| + | |||
| + | |||
| + | |||
| + | |||
| + | |||
| + | |||
| + | |||
| + | |||
| + | |||
| + | |||
| + | |||
| + | |||
| + | |||
| + | |||
| + | |||
| + | |||
| + | |||
| + | |||
| + | |||
| + | |||
| + | |||
| + | |||
| + | |||
| + | |||
| + | |||
| + | |||
| + | |||
| + | |||
| + | |||
| + | |||
| + | |||
| + | |||
| + | |||
| + | |||
| + | |||
| + | |||
| + | |||
| Line 338: | Line 503: | ||
[[File:IMG 3110.JPG|thumb|400px|left]] | [[File:IMG 3110.JPG|thumb|400px|left]] | ||
[[File:IMG 3109.JPG|thumb|400px|left]] | [[File:IMG 3109.JPG|thumb|400px|left]] | ||
| + | [[File:Screen Shot 2015-10-16 at 10.21.34 pm.png|thumb|400px|left|] | ||
| + | [[File:Screen Shot 2015-10-16 at 10.22.03 pm.png|thumb|400px|left]] | ||
| + | [[File:Screen Shot 2015-10-16 at 10.22.42 pm.png|thumb|400px|left]] | ||
| + | [[File:Screen Shot 2015-10-16 at 10.25.40 pm.png|thumb|400px|left]] | ||
| + | |||
| + | |||
| + | |||
| + | |||
| + | |||
| + | |||
| + | |||
| + | |||
| + | |||
| + | |||
| + | |||
| + | |||
| + | |||
| + | |||
| + | |||
| + | |||
| + | |||
| + | |||
| + | |||
| + | |||
| + | |||
| + | |||
| + | |||
| + | |||
| + | |||
| + | |||
| + | |||
| + | |||
| + | |||
| + | |||
| + | |||
| + | |||
| + | |||
| + | |||
| + | |||
| + | |||
| + | |||
| + | |||
| + | |||
| + | |||
| + | |||
| + | |||
| + | |||
| + | |||
| + | |||
| + | |||
| + | |||
| + | |||
| + | |||
| + | |||
| + | |||
| + | |||
| + | |||
| + | |||
| + | |||
| + | |||
| + | |||
| + | |||
| + | |||
| + | |||
| + | |||
| + | |||
| + | |||
| + | |||
| + | |||
| + | |||
| + | |||
| + | |||
| + | |||
| + | |||
| + | |||
| + | |||
| + | |||
| + | |||
| + | |||
| + | |||
| + | |||
| + | |||
| + | |||
| + | |||
| + | |||
| Line 423: | Line 673: | ||
=555 oscillator= | =555 oscillator= | ||
| + | [[File:Screen Shot 2015-10-16 at 10.26.21 pm.png|thumb|400px|left]] | ||
| + | |||
| + | |||
| + | |||
| + | |||
| + | |||
| + | |||
| + | |||
| + | |||
| + | |||
| + | |||
| + | |||
| + | |||
| + | |||
| + | |||
| + | |||
| + | |||
| + | |||
| + | |||
| + | |||
| + | |||
| + | |||
| + | |||
| + | |||
| + | |||
| + | |||
| + | |||
| + | |||
| + | |||
| + | |||
| + | |||
| + | |||
| + | |||
| + | |||
| + | |||
| + | |||
| + | |||
| + | |||
| + | |||
| + | |||
| + | |||
=Toy= | =Toy= | ||
[[File:IMG 3253.JPG|thumb|400px|left]] | [[File:IMG 3253.JPG|thumb|400px|left]] | ||
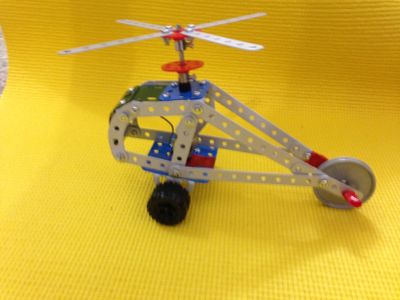
| − | + | Playing with Meccano was fun altogether, but adding a movement to it was fascinating. Initially I had some problems regarding the movement of the wings as the rod was too heavy for the axil but after using glue gun it started working. so the toy runs and the wings move too. | |
| Line 465: | Line 756: | ||
=Amplifier= | =Amplifier= | ||
[[File:IMG 3288.JPG|thumb|400px|left]] | [[File:IMG 3288.JPG|thumb|400px|left]] | ||
| + | [[File:IMG 3559 2.JPG|thumb|400px|left]] | ||
| + | |||
| + | |||
| + | |||
| + | |||
| + | |||
| + | |||
| + | |||
| + | |||
| + | |||
| + | |||
| + | |||
| + | |||
| + | |||
| + | |||
| + | |||
| + | |||
| + | |||
| + | |||
| + | |||
| + | |||
| + | |||
| + | |||
| + | |||
| + | |||
| + | |||
| + | |||
| + | |||
| + | |||
| + | |||
| Line 532: | Line 853: | ||
=Arduino= | =Arduino= | ||
| + | [[File:IMG 3280.JPG|thumb|400px|left]] | ||
| + | [[File:Screen Shot 2015-10-16 at 10.17.54 pm.png|thumb|400px|left]] | ||
| + | |||
| + | At first, Arduino seemed like a scary thing, but as we worked on it in the class together it seemed quite fun and explorative. | ||
| + | |||
| + | |||
| + | |||
| + | |||
| + | |||
| + | |||
| + | |||
| + | |||
| + | |||
| + | |||
| + | |||
| + | |||
| + | |||
| + | |||
| + | |||
| + | |||
| + | |||
| + | |||
| + | |||
| + | |||
| + | |||
| + | |||
| + | |||
| + | |||
| + | |||
| + | |||
| + | |||
| + | |||
| + | |||
| + | |||
| + | |||
| + | |||
| + | |||
| + | |||
| + | |||
| + | |||
| + | |||
| + | |||
| + | |||
| + | |||
| + | |||
| + | |||
| + | |||
| + | |||
| + | |||
| + | |||
| + | |||
| + | |||
| + | |||
| + | |||
| + | |||
| + | |||
| + | |||
| + | |||
| + | |||
| + | |||
| + | |||
| + | |||
| + | |||
| + | |||
| + | |||
| + | |||
| + | |||
| + | |||
| + | |||
| + | |||
| + | |||
| + | |||
| + | |||
| + | |||
| + | |||
| + | |||
| + | |||
| + | |||
| + | |||
| + | |||
==Magical Object== | ==Magical Object== | ||
[[File:IMG 3318.JPG|thumb|400px|left]] | [[File:IMG 3318.JPG|thumb|400px|left]] | ||
| + | [[File:Screen Shot 2015-10-16 at 10.20.42 pm.png|thumb|400px|left]] | ||
| + | [[File:Screen Shot 2015-10-16 at 10.19.53 pm.png|thumb|400px|left]] | ||
| + | [[File:Screen Shot 2015-10-16 at 10.20.24 pm.png|thumb|400px|left]] | ||
| + | [[File:Screen Shot 2015-10-16 at 10.20.11 pm.png|thumb|400px|left]] | ||
| + | |||
| + | The magic wand was a collaborative project between me and Julia. | ||
| + | Tilt sensor and LDR have been used in this wand. We added three colours of LED, only one glows at a time, all three have been coded to light at different angles. | ||
Latest revision as of 23:42, 17 October 2015
Contents
MicroRobo
Making the robot was quite an easy task. It was surprising for me as I never really got along with science back in school. My fear of science was one factor that kept me away from exploring the electronics, so I finally decided to overcome it by taking this course. This course did help me refreshing the basics and also understanding it this atleast time.
SP road visit
This wasn't my first trip to SP road but since we had a long list, keeping up with it and understanding what each component is was a different experience. This trip helped us for future projects, as now we know the reliable place, general costing and where to get what from.
Introduction to Components
Battery
making your own battery
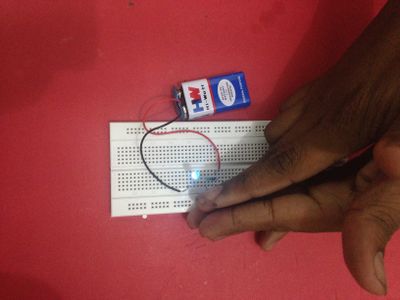
Making our own switch was the best activity, we were running around with multimeter checking the resistance of nearly everything around us. We used the leaves, the bark, light, heat and even us as switches. we connected 9 9v batteries together to match up the resistance of our bodies.
Resistors
Fixed resistors
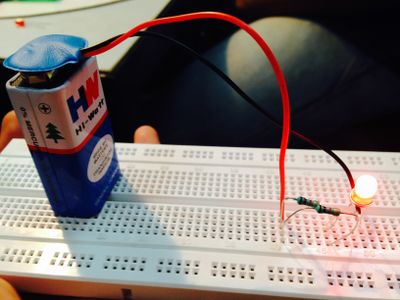
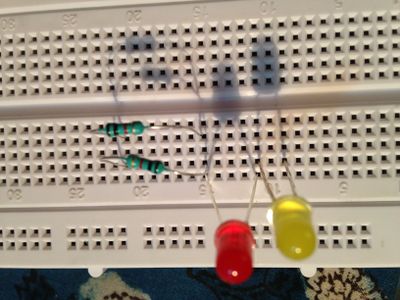
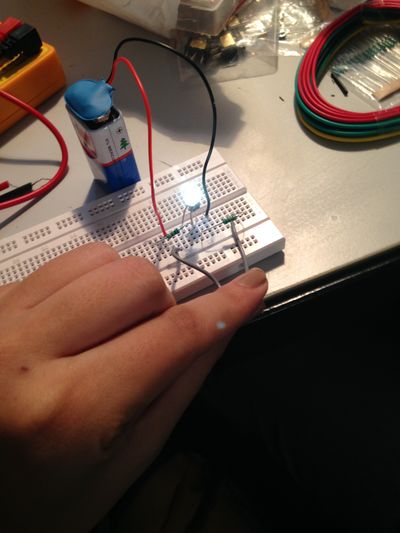
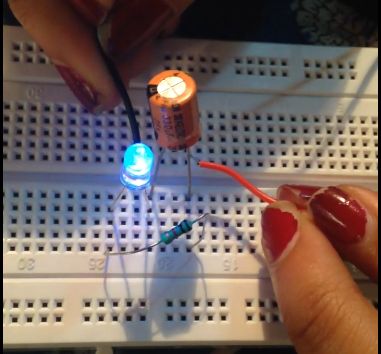
In order to make the LED glow, I ended up wasting a lot of LEDs as little did i know about resistors. I had just seen resistors vaguely back in school diagrams, but never used it.
Variable resistors
Potential meter
LDR
Thermistor
Capacitor, Diodes and Transistors
[[File:Screen Shot 2015-10-16 at 10.21.34 pm.png|thumb|400px|left|]
555 oscillator
Toy
Playing with Meccano was fun altogether, but adding a movement to it was fascinating. Initially I had some problems regarding the movement of the wings as the rod was too heavy for the axil but after using glue gun it started working. so the toy runs and the wings move too.
Amplifier
Arduino
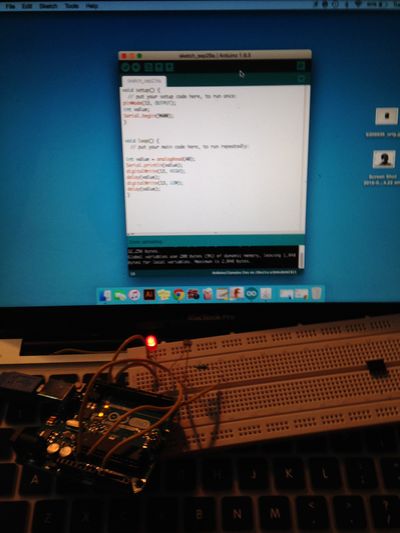
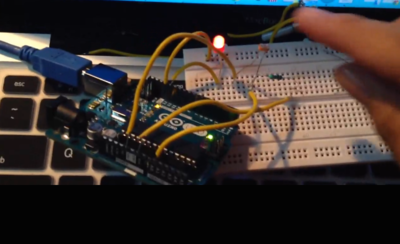
At first, Arduino seemed like a scary thing, but as we worked on it in the class together it seemed quite fun and explorative.
Magical Object
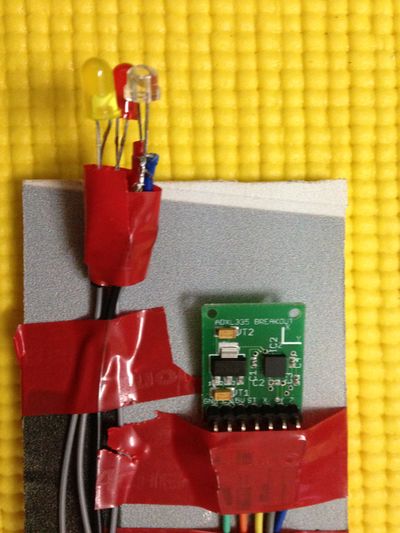
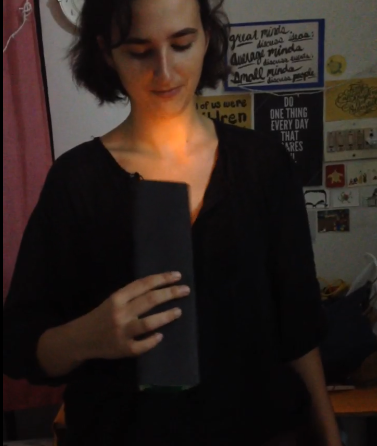
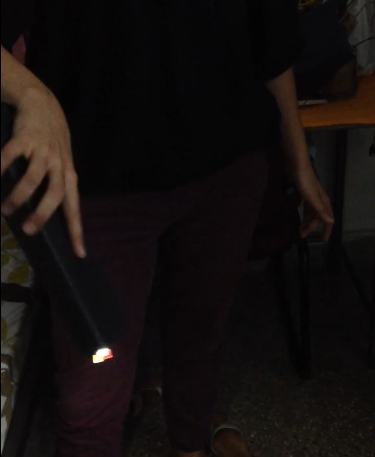
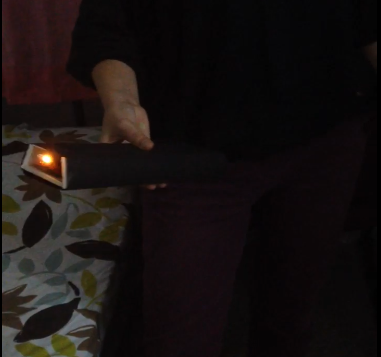
The magic wand was a collaborative project between me and Julia. Tilt sensor and LDR have been used in this wand. We added three colours of LED, only one glows at a time, all three have been coded to light at different angles.
