Difference between revisions of "Akshay Tiwari"
| Line 120: | Line 120: | ||
[http://http://www.nixi.in/mrtgBanglore.php This site] shows the Internet traffic measured on a daily to yearly basis by the National Internet Exchange of India(NIXI).<br> | [http://http://www.nixi.in/mrtgBanglore.php This site] shows the Internet traffic measured on a daily to yearly basis by the National Internet Exchange of India(NIXI).<br> | ||
OpenStreetMap data for Bangalore can be found [http://www.http://openstreetmap.in/data/ here] which can be read by open source software [http://http://www.qgis.org/en/site/ QGIS].<br> | OpenStreetMap data for Bangalore can be found [http://www.http://openstreetmap.in/data/ here] which can be read by open source software [http://http://www.qgis.org/en/site/ QGIS].<br> | ||
| + | <br> | ||
| + | ===MAPPING=== | ||
| + | [http://openbangalore.org/available-data/#gis_maps OpenBangalore] hosts datasets related to Bangalore.I used the BWSSB(water division) subdivision and main lines' KML files to divide the Bangalore map into wards and respective stations. I tried adding these KML files to Google Maps which works in layers for each file and is a bit tough to open a batch of KML files.<br> | ||
| + | [[File:Akshaygooglemap.png| 300px]]<br> | ||
| + | For importing the batch of KMLs I turned to [https://www.google.com/earth/download/ge/agree.html Google Earth]. It opens the KML files and divides the map into sectors. Turning off the Primary Database keeps only the KML files visible.<br> | ||
| + | [[File:Akshaybangalorewater.jpg| 250px]]<br> | ||
| + | I do not exactly know though as to what every pipeline or Service Station's sub-data represents. | ||
Revision as of 20:53, 15 March 2017
Contents
FIRST ROBOT
I had no idea to build something with just motors. Despite of having some experience with Arduino before, I had no clue about using a transistor with a diode. Previously I had used only a driver IC module with two motors. My general focus is towards creating tools for artists. My recent memory of a decorated thick shake made me create a tool for confectionary art. The tool could be used to create chocolate ornaments, side cup decoration, cream shaping and much more.
On the traditional side I feel it could work well with ink spatters and such effects. The initial design involving an LDR didn't work out since the connections with the diode weren't working as expected though on paper it was heavily discussed and clarified. I am yet so curious about what someone defines as knowing and unknowing while also considering what verifies it. I hope the discomfort is optimal to help me dig deeper and create something challenging by the end of this course. I expect this course to help me further merge my coding skills with various media and hack established systems to perform differently or in a better way. Currently my ideas are leaning more towards sensor based dynamic data visualisation which I would like to try sooner. Probably a VR/AR UI visualisation would be a lovely challenge to take on.
BACK TO THE BASICS
The beginning of the class just was another reflection upon how hardware fabrication is also equally challenging to create as is the electronic programming mechanism that it houses inside.
RESISTANCE
Series shall keep the current in same line while potential drops across the components in a closed circuit. Parallel shall split the current while maintaining the PD across parallel components. These are the bases for derivations too which conclude upon total resistance to be more than individual ones and less than individual ones resp for series and parallel.
PROBLEM(?)
How much resistance is appropriate to connect a 3V LED to a 9V battery?
3V LED on 9V battery would require 300 ohm res(orange black brown ) considering 20mA current. The problem is just a puzzling rephrasing of "what does voltage rating on an LED mean?". The rating assumedly at max current of 30mA allows us to assume a 'safe current' of 20mA and use Ohm's law to solve the problem.
WHAT ARE SENSORS?
The next exploration was pretty interesting wherein ecoli bacteria could glow upon the detection of arsenic. This set me off more into thinking what sensors do artists, particularly traditional impressionists use to detect colours and moods. The immediate thought was considering shadows as sensors- cool shadows indicates most often warm light and vice versa. Similarly skin pigments and absorbed light show presence of different objects around as well as internal state of a person. Subsurface scattering is a "sensor" that senses the materials texture. Occlusion is a sensor of contact. Tonal variations are sensors of form and shape. Every basic element is a sensor in it's own way that is interpreted by the eye and the mind to create a painting.
3D MAP CREATION
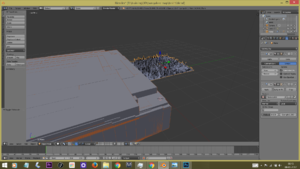
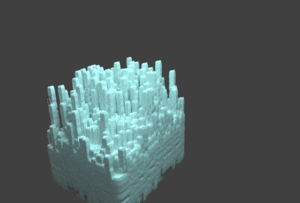
As an assignment, I was to create a 3D map of Bangalore or acquire it somehow. I started from scratch in Blender and used a Bangalore map colour coded for height generation. This was used upon a divided surface to create the following models.
SENSOR EXPLORATION: TILT SENSOR
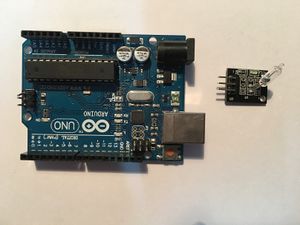
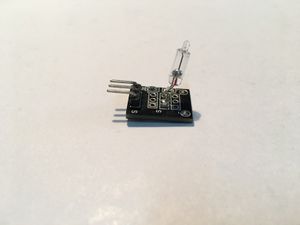
The following tutorial uses a Mercury tilt (KEYES KY-017) tilt sensor.
COMPONENTS:
Tilt Sensor
Arduino UNO
Jumper wires
THE TILT SENSOR:
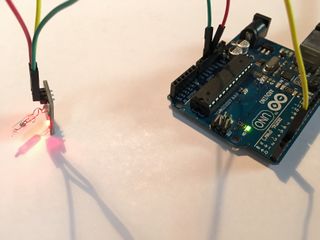
The mercury tilt sensor utilizes a mercury blob that disconnects upon tilting and short/completes the circuit when lying flat, thus detecting tilt in a binary way. When flat, the sensor module’s LED shall glow. Upon tilting, it will not glow.
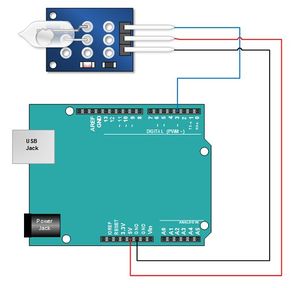
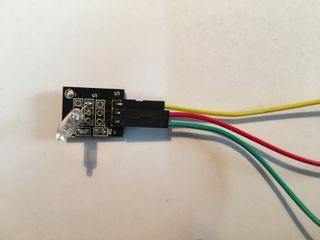
The pin terminals and basic circuit are indicated as follows:
ARDUINO CODE FOR TILT SENSOR:
//code for testing tilt sensor
int tilt = 3;
void setup() {
 // initialize serial communication at 9600 bits per second:
 Serial.begin(9600);
 // make the pushbutton's pin an input:
 pinMode(tilt, INPUT);
}
void loop() {
 // read the input pin:
 int tiltState = digitalRead(tilt);
 Serial.println(tiltState);
 if (tiltState==HIGH){
   Serial.println("TILTED")
 }
 else
 {
   Serial.println("NOT TILTED")
 }
delay(1);
}
The tilt sensor can be used as a switch where tilting is an interaction that shall trigger some output.
Turbidity Sensor
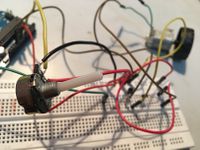
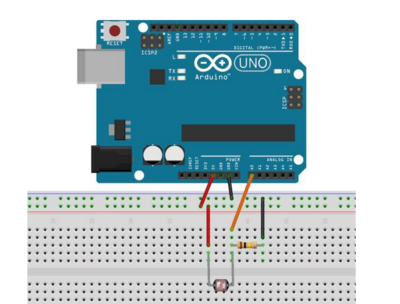
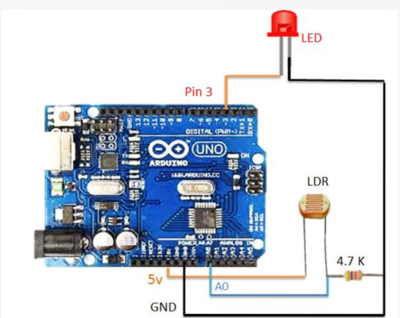
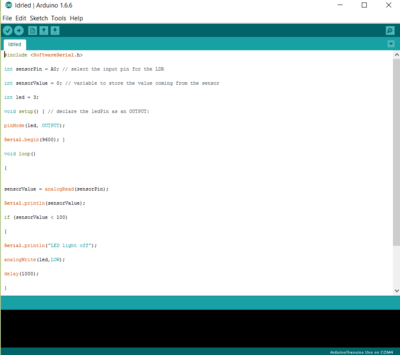
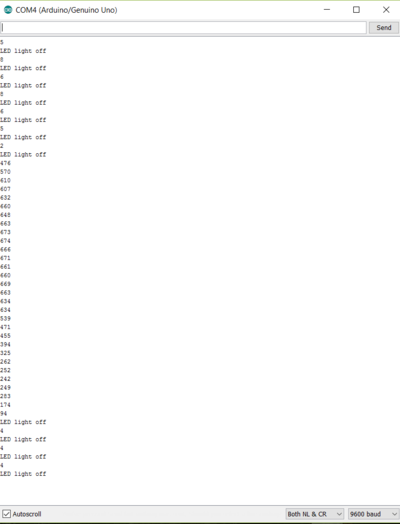
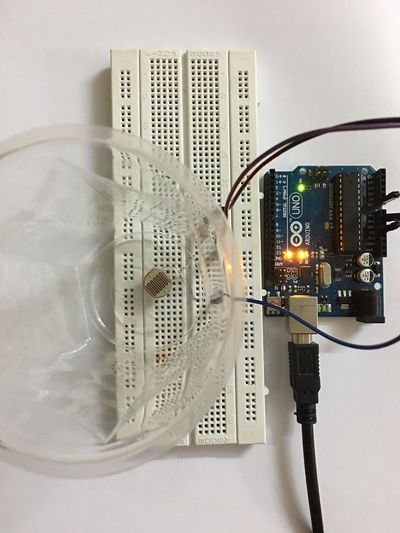
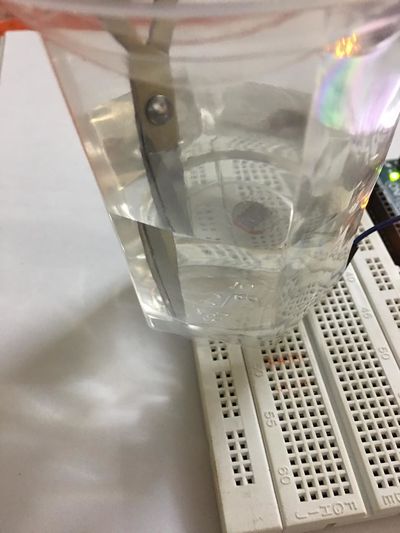
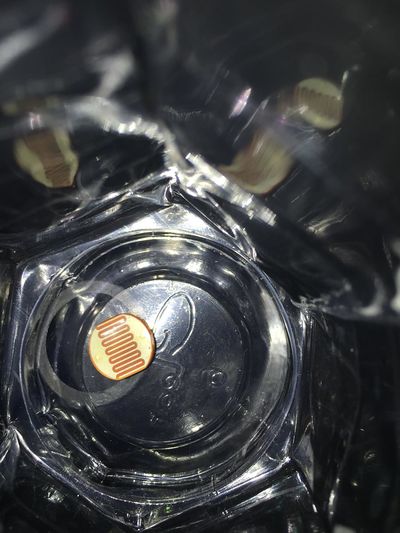
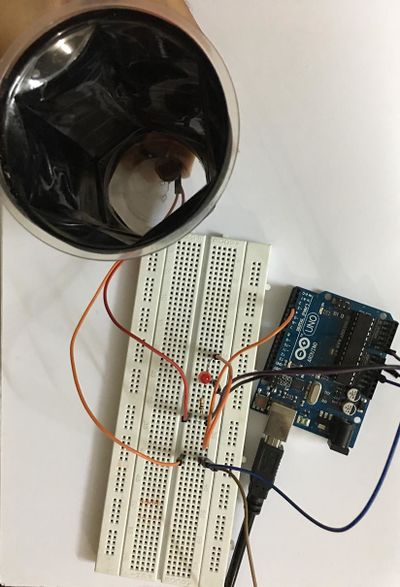
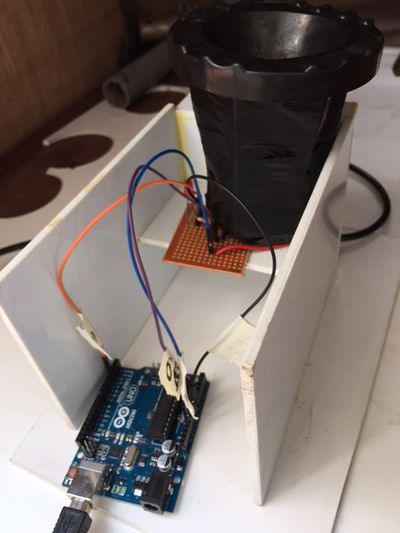
Combining basic LDR circuit with an LED we created a turbidity detector .The essential factor to consider was casing the LDR in darkness.
Circuit
Arduino Code
Serial Reading
Construction of the meter
Turbidity Meter Calibration
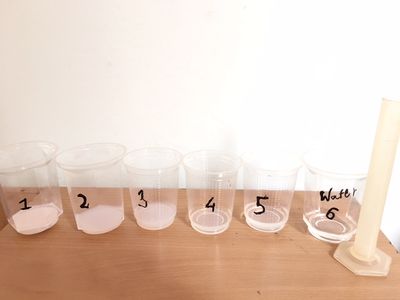
Further, the circuit was soldered on to a PCB and cased with sunboard. Calibrating the meter requires successive dilution of samples. Milk is diluted with water and readings are gathered in a dark area.
Starting with 25 ml of a sample we did a five fold dilution where the maximum concentration of milk resulted in a reading of approx 220 units and maximum dilution approached 700 units.
The average of serial monitor readings was plotted against level of dilution in the five fold dilution process (starting from 25 on Y axis and going 5 units lesser for the next dilution and so on).

CYBORG & POSTHUMAN
CYBORG

A cyborg who is primarily a plant with a humanoid core. He has zero reactionary behaviour and can sustain on changes in fields(magnetic, etc)
POSTHUMAN
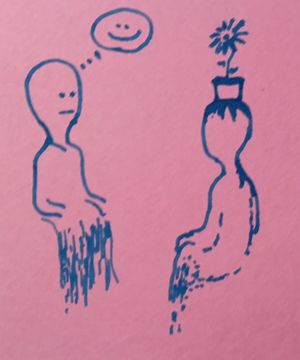
Post human would be a human who has reached the peak of understanding and perception with the most vast 'vision' of any sorts. Here, the human is communicating through a plant which the other is interpreting via thought and replying literally in a speech bubble. Their feet depict that they can alternate between matter and energy.
POSTHUMAN CYBORG 10 YEARS FROM NOW
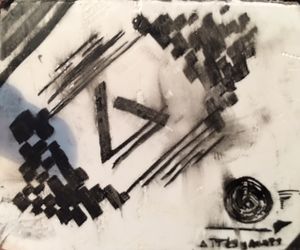
Here, we had to visualise the intersection of the themes: Cyborg and Posthuman 10 years from now.
We visualised the intersection to be a dystopian age where every individual is a brand by 'it'self and is completely self sufficient for survival. The image shows an example of the 'logo ID' of an individual. It would consist of a unique visual as well as a different bar code that is recognized by others and directly installs that brand's unique language into the viewer's perception. These IDs are produced by different private governments who are 'publishers'. They also tailor sensory hacks which 'Hollywood'izes the world in different styles. So, every person sees everything as beautiful through his branded vision.
SENSING THE CITY
RESOURCES FOUND
This site shows the Internet traffic measured on a daily to yearly basis by the National Internet Exchange of India(NIXI).
OpenStreetMap data for Bangalore can be found here which can be read by open source software QGIS.
MAPPING
OpenBangalore hosts datasets related to Bangalore.I used the BWSSB(water division) subdivision and main lines' KML files to divide the Bangalore map into wards and respective stations. I tried adding these KML files to Google Maps which works in layers for each file and is a bit tough to open a batch of KML files.
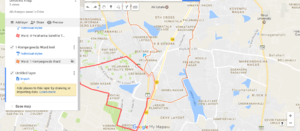
For importing the batch of KMLs I turned to Google Earth. It opens the KML files and divides the map into sectors. Turning off the Primary Database keeps only the KML files visible.
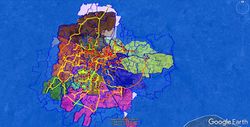
I do not exactly know though as to what every pipeline or Service Station's sub-data represents.
